A Tangible Need
Prototyping An Ambient Notification Cube
MAY 8 2015
This is a story about my first experience creating a physical object with a combination of hobbyist electronics and traditional materials found in a maker workshop. I discuss my mindset and approach along with some helpful links.
Contents
1
A Tangible Need
Having spent most of my career working digitally, I often have the desire to make something tangible. It starts with the desire to make a real object and not a series of zeros and ones that might be wiped out with an ill advised placement of a strong neodymium magnet.
There is a certain sense of satisfaction that comes from creating a finished physical object. I wrote this story with the intent of chronicling that journey. Hopefully this can provide some assistance to those interested in following a similar path that might seem daunting at first.
I just recently completed building a major hardware project for a client and I felt it might be helpful to write about how I started.
Two summers ago, I had the distinct honor of being a part of a pilot program intended to provide mentorship to children as a part of the Maker Education Initiative. I ended up being assigned to the beautiful Makerspace in the New York Hall of Science out in Queens, NY.
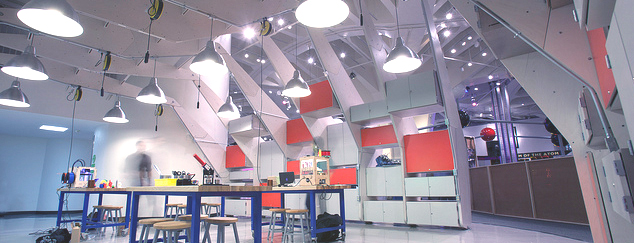
As a part of the program we had unfettered access to the host of tools available at the space which included 3D Printers, CNC Routers, and Laser Cutters. Coupled with a small stipend to purchase electronics we were allowed to build anything we could conceive.
2
The Cube
I chose to work on an idea that I had sketched out in 2009. After owning an iPhone for a couple years, I had a hunch that the constant stream of notifications from apps and services would get overwhelming. To fight the constant barrage I thought that there might be a better way to delegate some of the less important notifications through a different medium. The most effective solution I could think off was the medium of light. I pictured, an ambient obsidian cube that glowed an array of colors for specific reasons.
This was the original abstract:
An LED wifi enabled cube that displays ambient information, such as weather, through glowing colors. It will be controlled by both a web and mobile app.
Ambient notifications sit in-between being notified and not. In the current binary notification system, an invite to play Candy Crush on Facebook gets the same attention as a text message. Users will be able to create their own notification hierarchy.
In hindsight, it seemed a little ambitious for a first time project but I was undeterred.


3
Context Switching
The most exciting part of undertaking a project like this is the ability to learn and mix disparate ideas and disciplines like lego blocks to build your idea. The best advice for the kind of mindset you have to adapt is aptly summarized by Elon Musk in a recent AMA.
”I do kinda feel like my head is full! My context switching penalty is high and my process isolation is not what it used to be.
Frankly, though, I think most people can learn a lot more than they think they can. They sell themselves short without trying.
One bit of advice: it is important to view knowledge as sort of a semantic tree -- make sure you understand the fundamental principles, ie the trunk and big branches, before you get into the leaves/details or there is nothing for them to hang on to.”
If you’re contstantly willing to learn and adapt you can make anything.
4
Embracing Constraint
You will never know everything there is to know about a given subject. The best way to learn is by making. In the physical world especially, you can quickly accrue knowledge through trial and error.
For a real world example, Adam Savage of Mythbusters demonstrates this paradigm in all of his videos. Watching him craft a box or a movie prop is a master class in building physical objects.
Jony Ive, talks about learning by making as well:
“The drive each time was to develop something in terms of its form. And of course we know you can't separate form from materials and certain plastics won't do well for certain shapes. Plastic doesn't actually do very well if you want to do thin, thin, thin, flat surfaces. You can't disconnect material from the form. And you can't disconnect the form from the component that goes inside.
One of the things that drives me potty is this idea that you can have a random shape, and then you think let's make this bit in wood and that bit in plastic. And sometimes you see car interior sketches, where, obviously there's form and there's divisions of forms and some lovely colouring in – those boys can do a really good colouring in – and then there are these arbitrary bits of wood. And you think, wood's not that shape. Of course we can make anything any shape, but that's just being bloody minded. You can't make those decisions, you can't read about it, you gain that experience by making.”
5
The Build
Prototyping exists to prove an idea, it's fast & loose just like sketching. There usually is no one definite way to build an idea. I didn’t have much time to put together the cube so for the first build I had to assemble something relatively quickly and easily. There are many places to get electronics and I chose Adafruit for the close proximity of their warehouses to the museum.
Since I had a small stipend and a simple idea my parts list was relatively sparse. As a part of the program, we also had access to a series of basic electronics that included, soldering setups, electronic components and other prototyping gear.
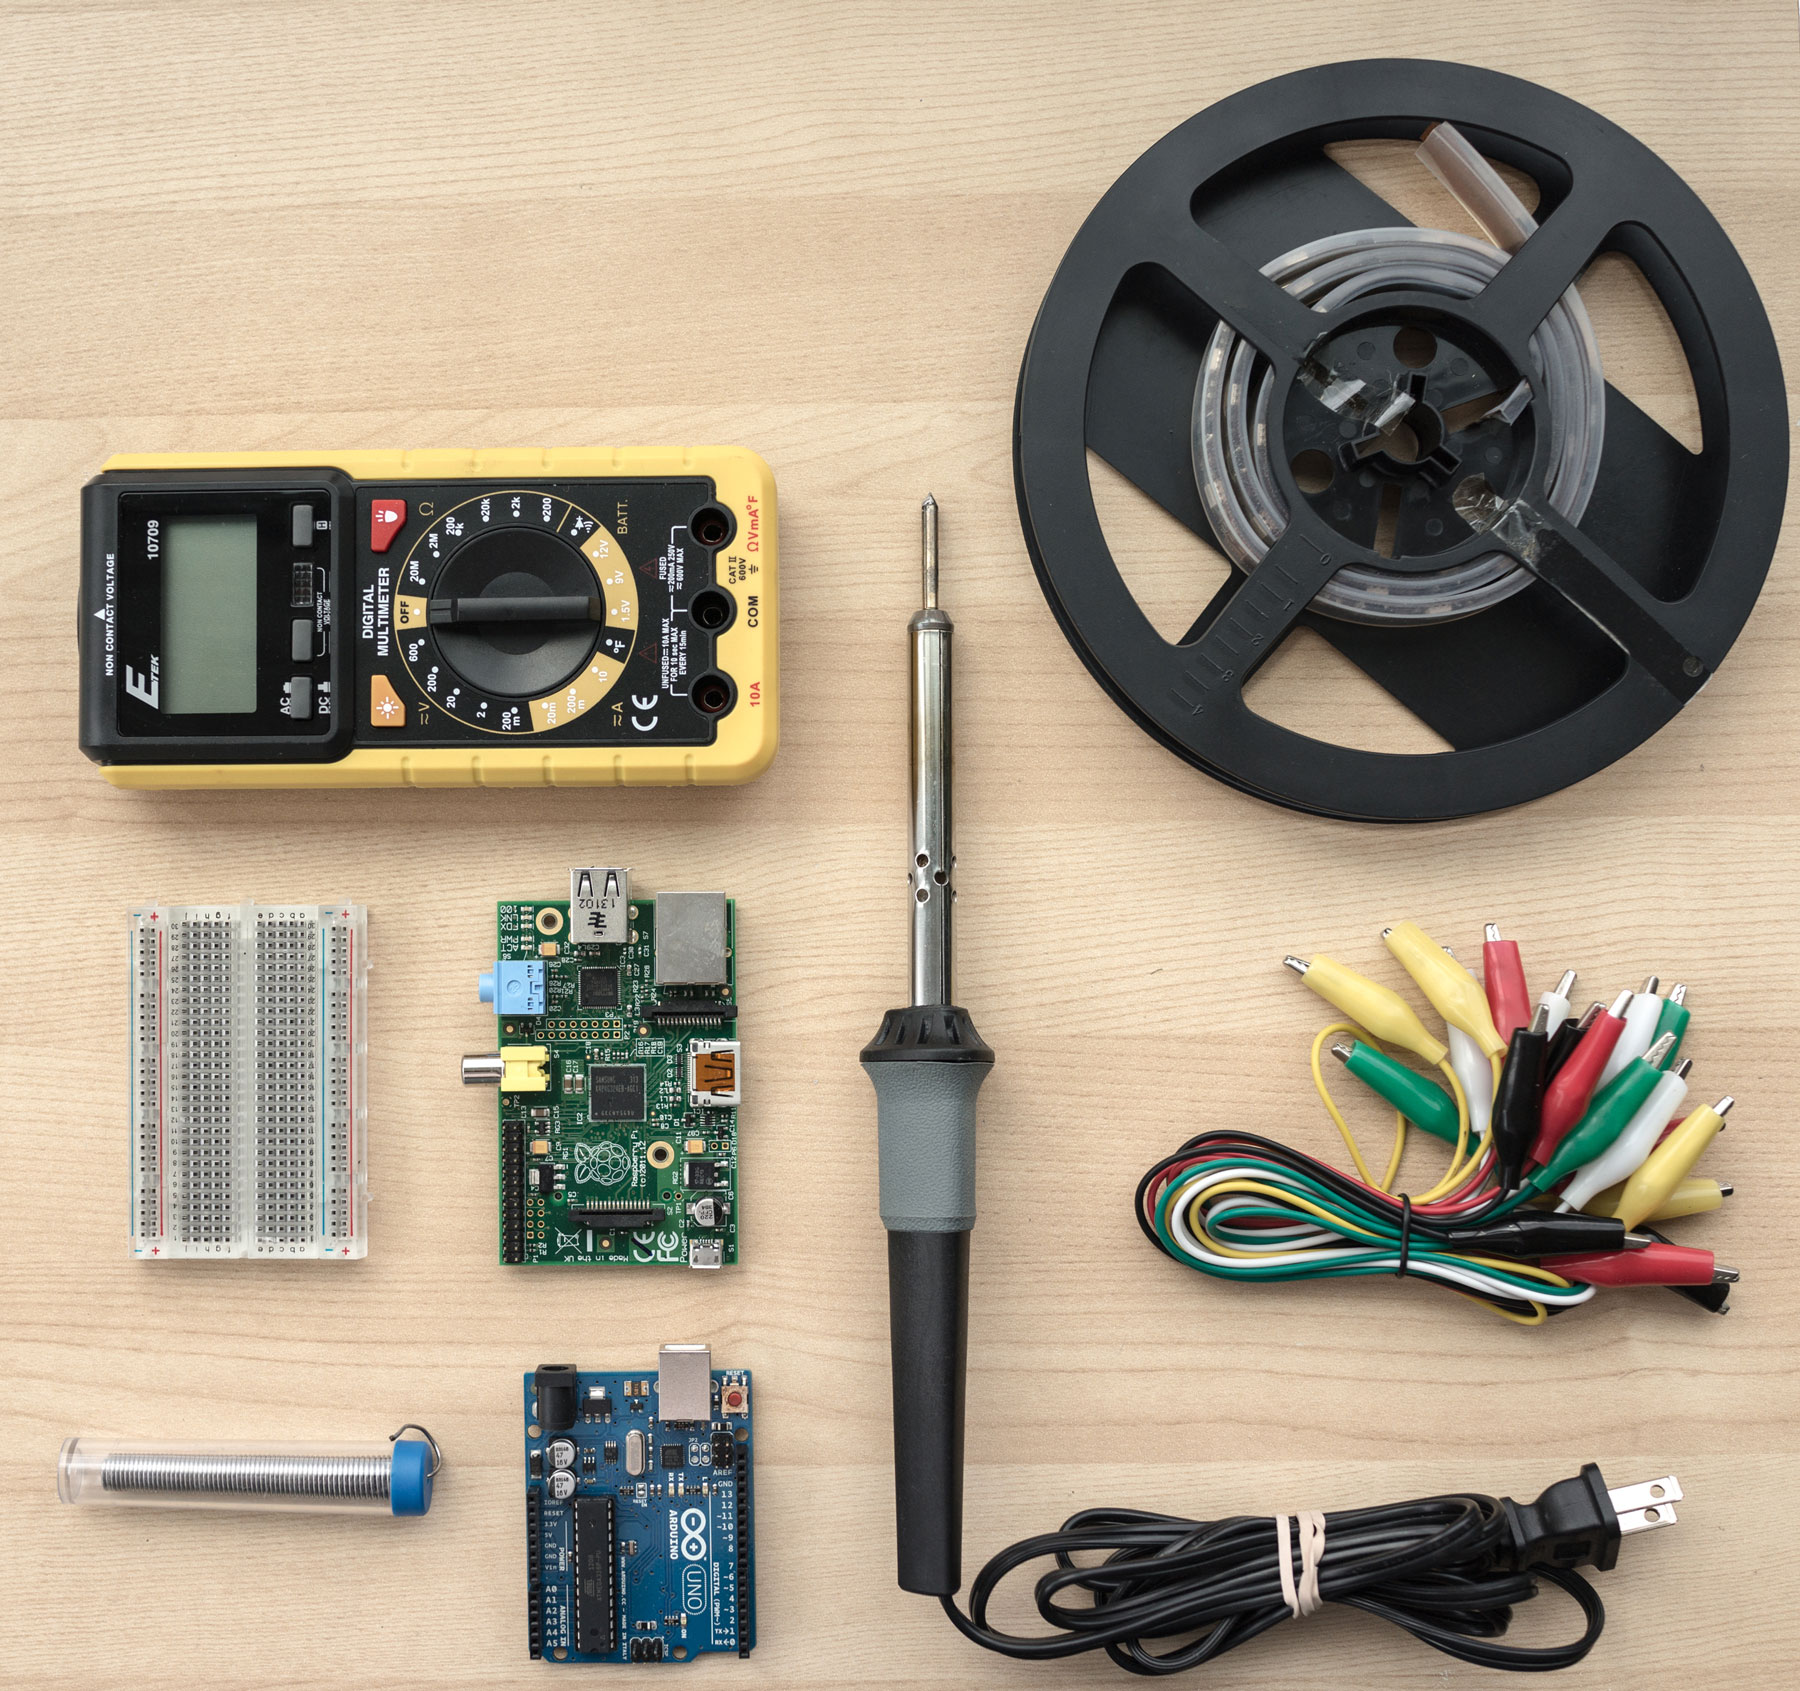
Materials
- + 1m of 5V RGB LEDS
- + Raspberry Pi
- + Wifi Dongle
- + Jumper Wires
- + Soldering Iron & Solder
- + Electrical Tape
- + Multimeter
- + Breadboard
- + Power Supply
Enclosure
- + Plexiglass
- + 3D Printed Supports
- + Dremel Tool & Bits
- + Adhesive
- + Sandpaper
*The parts on this list are merely for reference. You can subsitute as you wish, these were the tools and materials I happened to have available.
If you have no experience with anything electronics related, don’t worry I didn't either. Adafruit and other sites like Sparkfun have comprehensive guides and forums on everything that you could possibly need on getting started. Spend sometime reading through these excellent resources before you purchase anything.
Once the parts were delivered I started assembling my prototype. Since, I had no prior experience with electronics, I decided to start with something basic; turning on and testing the LEDs. Adafruit provides comprehensive libraries of code for most popular microcontrollers and hardware platforms. This made it really simple to run a strand test on a spare Arduino.
The next step was getting it to work with the Raspberry Pi. The Arduino is a simpler microcontroller than the the Pi which is a full blown tiny linux computer. Since my project had a web app component, it made more sense to have a powerful computer manage the logic and data.
Getting the strip of LEDs wired correctly on to the Pi was straightforward thanks to this libary. I've also created a diagram for reference below. Note that depending on the kind of LEDs you get, a level shifter might be necessary so that the Pi can talk to the LEDs correctly. I was using a strand of LEDs that had 5V logic so I didn't need one for the Pi. Make sure to read up on power supplies, multimeters and the fundamentals of electricity if you haven't already.

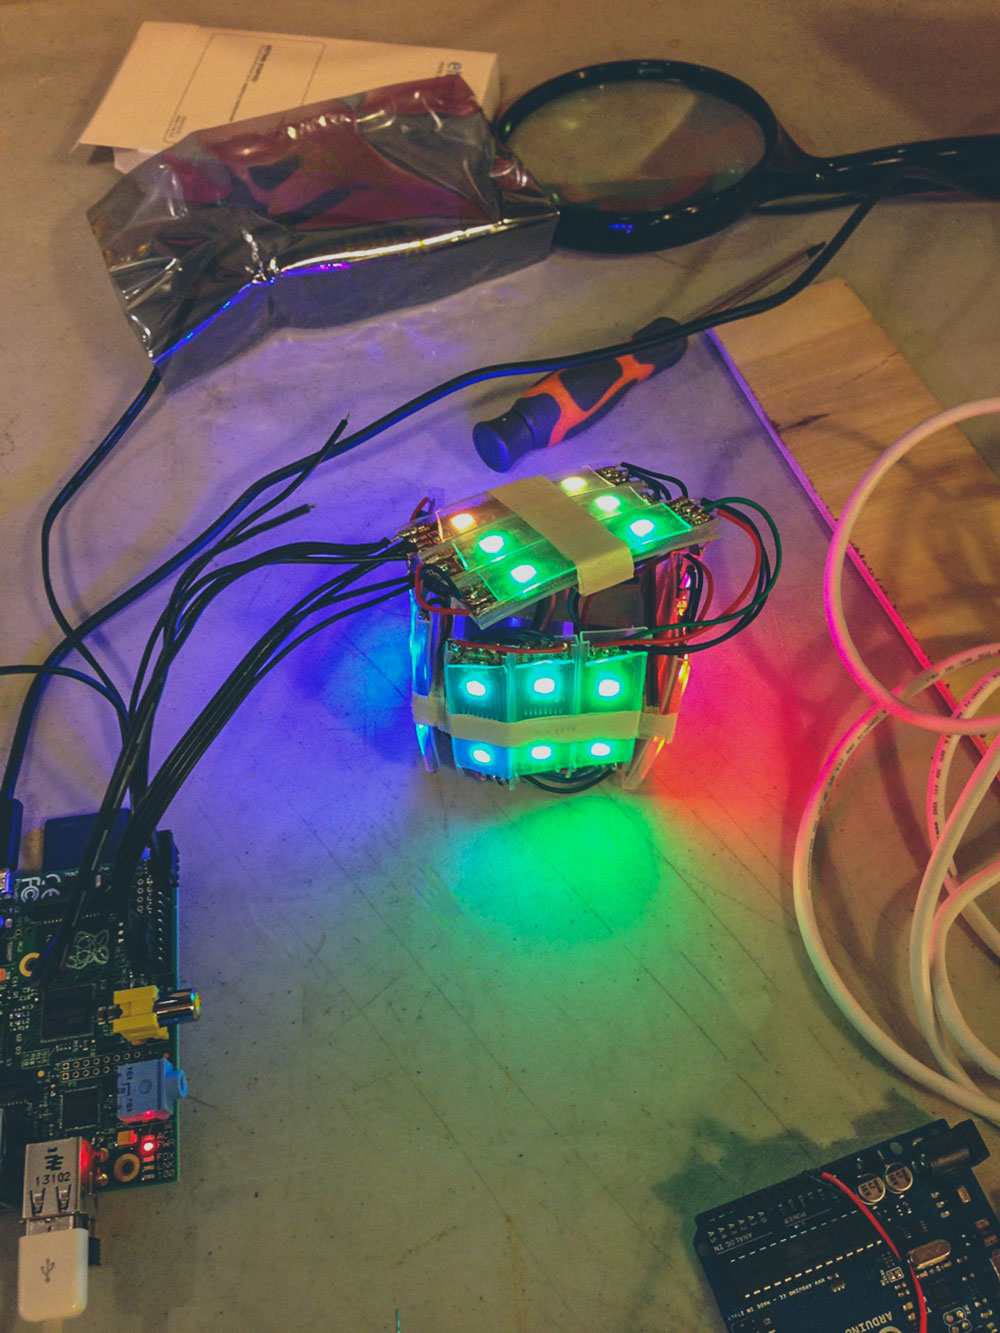
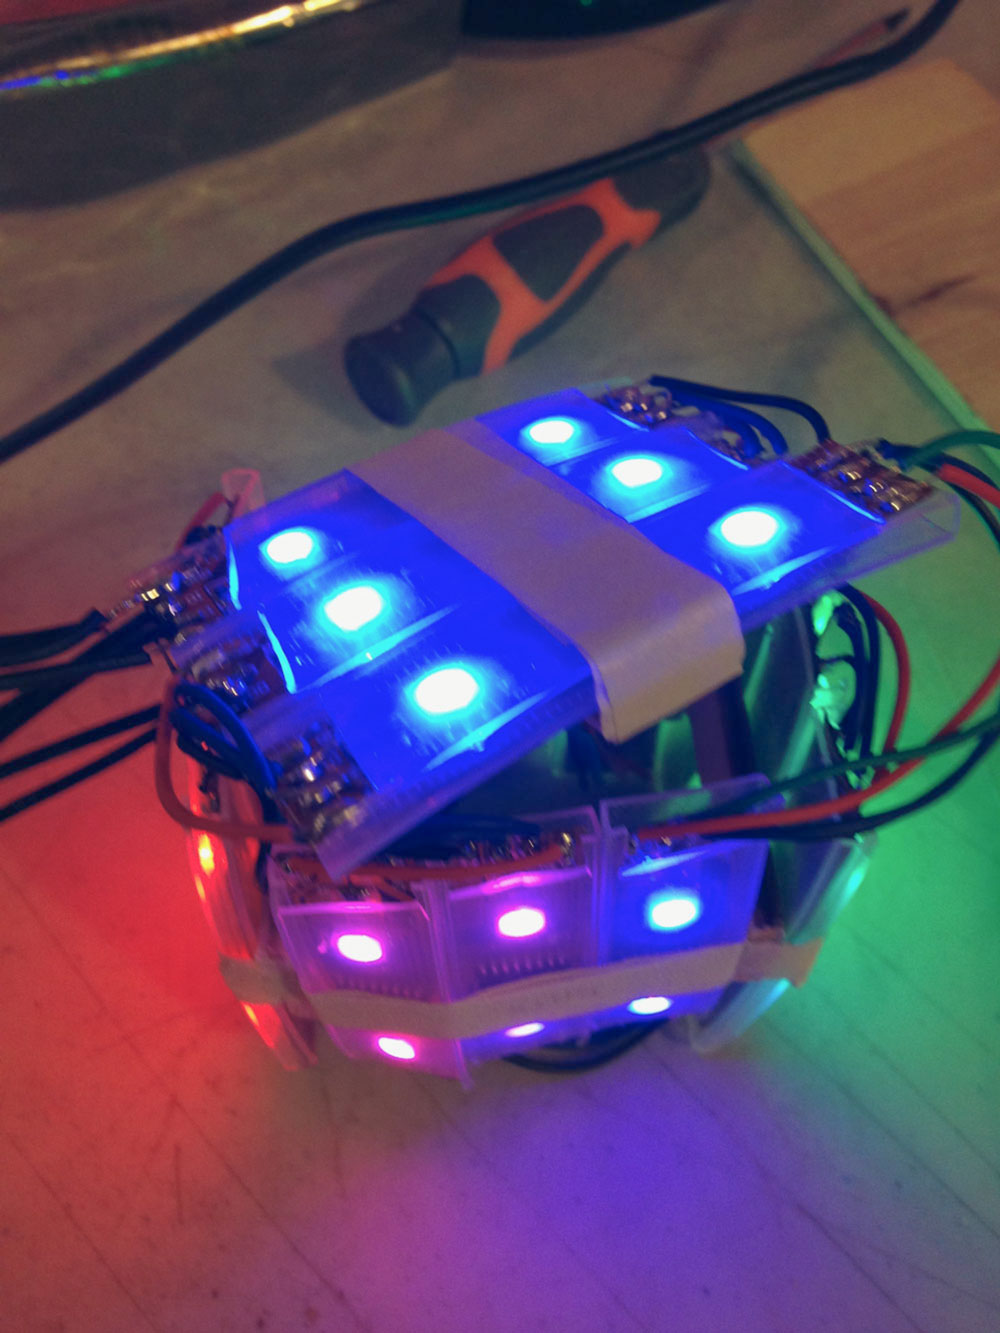
I cut the LED strip into strands of two LED segments and grouped them into sections of six to form the five faces of the cube. It was tedious to solder all the pieces together but it was a compromise I had to make based on the materials I had available. Just make sure to match the wires correctly. To provide power to the LEDs I repurposed an old cell phone charger that happened to have the right amount of voltage and amperage (5V - 550mA).
Once I had all the pieces wired up I coded a basic python script to control it. Since we’re running a headless linux machine, the Pi is able to do a lot of what you would be able to do on a normal computer. Due to the great developer community there are a ton of libraries written in the most popular programming languages for common electronic components. This saves plenty of time when prototyping.
Once past the prototyping phase you can begin to design custom chipsets and write byte code but that is outside the scope of this article. However, you will find some helpful links that will point you in the right direction at the end of this piece. Just be aware if you intend on manufacturing your prototype at some point it is wise to take these things into consideration.
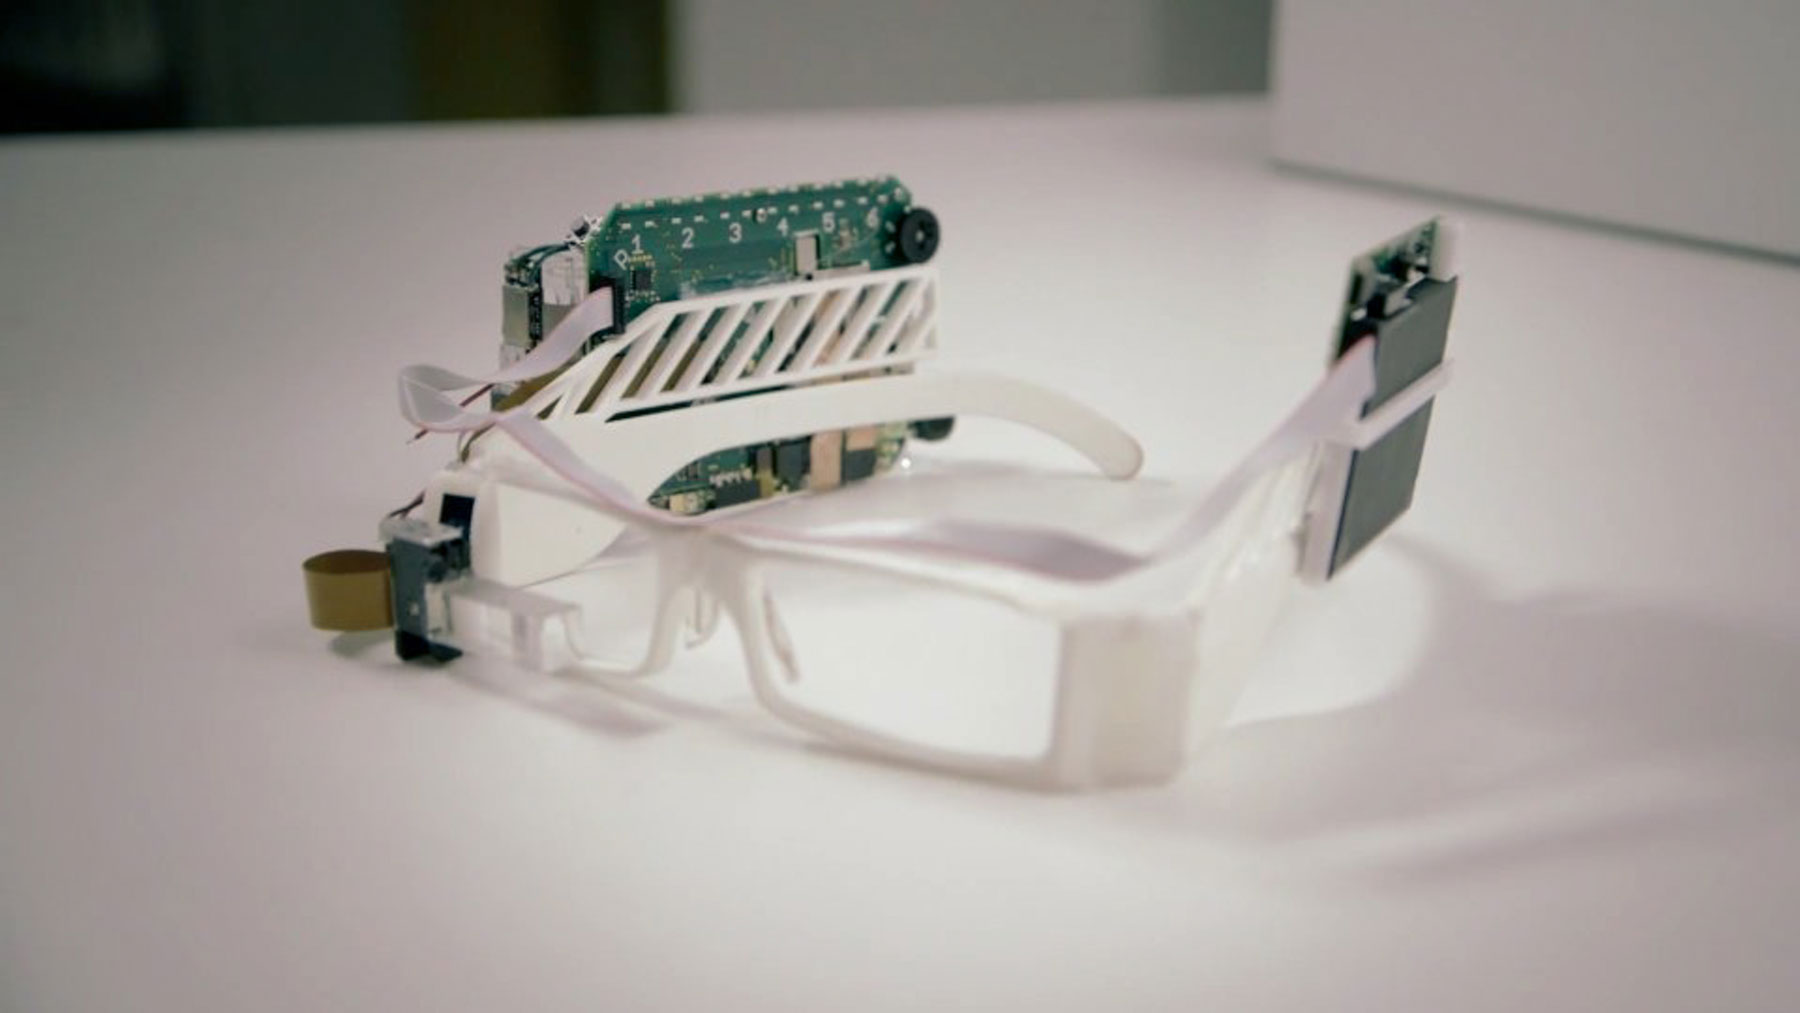
Another helpful hint is following the dev blogs of small indie startups gets you a lot of auxiliary information. IOT(Internet of Things) hardware like the Lockitron, google glass and Pebble mostly started out with off the shelf hobbyist parts before being designed into a manufacture ready object.
Once everything was working I had to somehow enclose the electronics into the form of a cube. My build had some placement limitations due to the size of the Raspberry Pi board and the way the LED strips were manufactured.
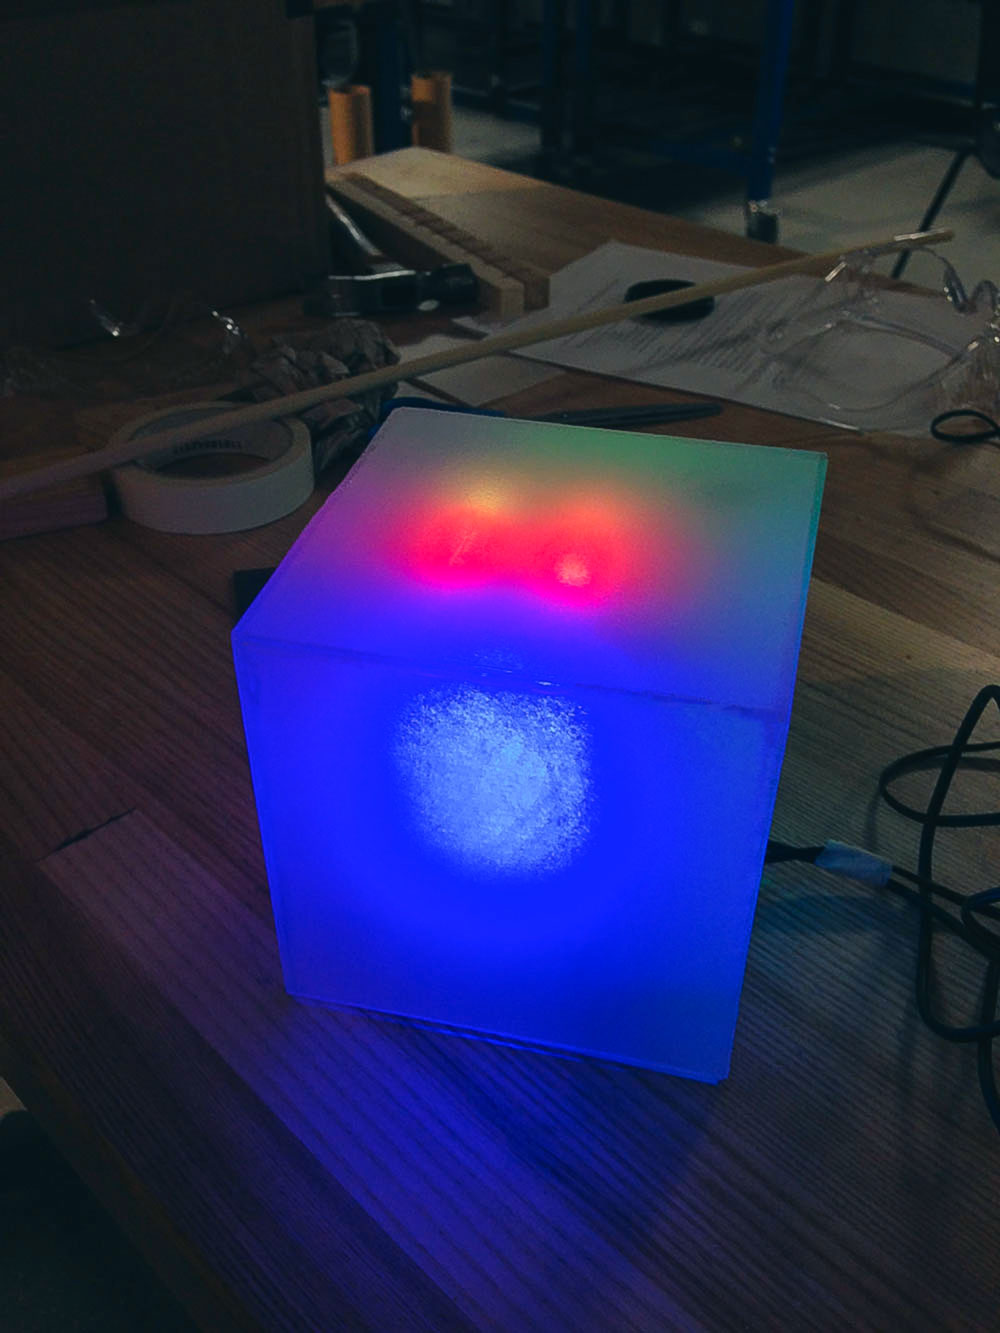
I 3D printed an ABA plastic mounting structure for the Raspberry Pi. I don't recall the original mount I used but you can find something similar by searching Thingiverse, a one stop shop for open source 3D files. For the enclosure I cut square pieces out of a clear acrylic plate which I then sanded to create a frosted diffused glow.
Note that while going through this process I was constantly hitting up against the material limits of whatever I was working with. As Ive said earlier thin plastic could only do certain things and act certain ways. As you experiment with various materials you will start learning about the inherent properties of each one.
Creating the mounting structure for the 5 LED walls proved most challenging and I was never quite happy with it. I ended up 3D printing another harness I found on Thingiverse atop the Raspberry Pi. I then attached a wooden dowel to support a laser cut piece of wood holding the top face of the LEDs. Sugru, a fast drying putty like adhesive, was used to quickly mount this top plate after it failed to stick several times using glue.
Once this was done, all that was left was securing the acrylic shell to the base. The finished cube was almost entirely different than I had first imagined. Honestly, I was unhappy with a lot of the compromises I had to make to finish the prototype.
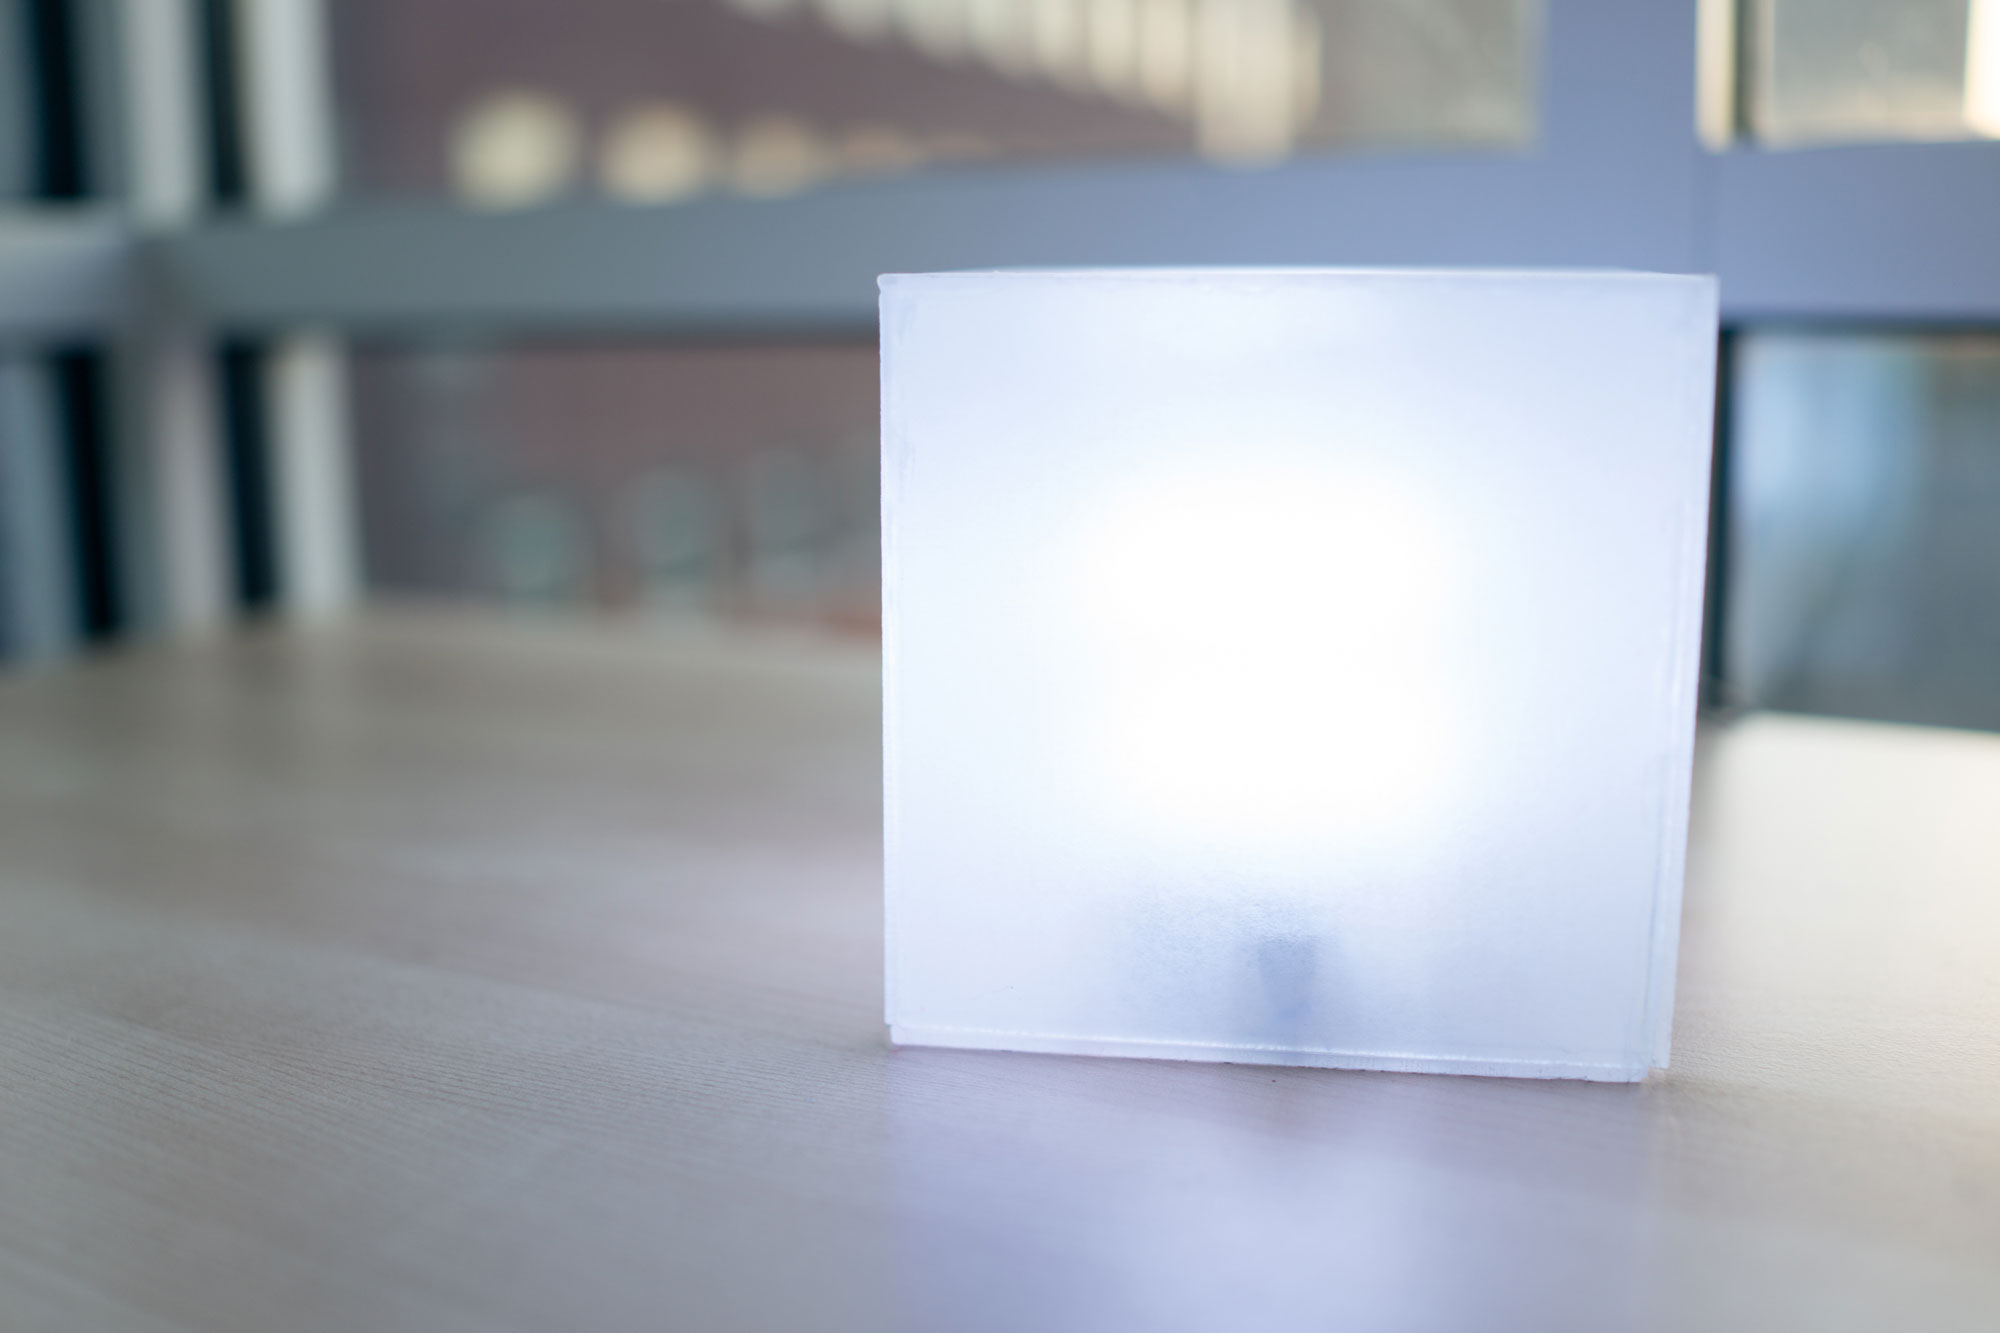
For my demo at the museum I ended up running a self contained twisted python web server on the Pi so I could remotely control the cube over the local network. This allowed me to create and serve a local web page from the Pi that ran three functions: The rainbow strand test, a simple remote controlled night light, and a notification mode for the e-mail count in my inbox.
Currently, the cube has found another life softly glowing on top of my shelf ambiently displaying the weather on a colored temperature scale. I recently modified the code to include the weather, you can find the rough code I wrote for this on Github. It's hard coded to my local network so I can control it from any device in the house via http. It sources it's weather information every three minutes from the Dark Sky API.

6
Validating Ideas
Two years later and I still haven’t created a second version of the cube. After creating the first prototype I realized a number of things. While it was cool there wasn’t enough utility to justify creating another one. The only way I could have figured that out is by making and using this prototype for several months. The lessons I learned from this project were innumerable and hugely beneficial. It was a jumping of point that led to work on a series of even more complex electronic projects. That string of projects recently culminated in this electronic art sculpture.
Hopefully this article helps you in your journey towards making something tangible. Please don't hesitate to e-mail me if you have any questions or corrections. If you'd like to hear about more things I write you should follow me on twitter at @achariam or subscribe here.
7
Links & Resources
Along the way I’ve collected a bunch links that helped fill in the gaps in my knowledge. I’ve listed the most interesting ones below:
- + Mega List of software related tutorials
- + Project: How to make your own smart AC
- + Project: DIY FPGA based HDMI ambient lighting
- + Project: Binary Wristwatch Project Writeup
- + Bunnie Studios: One of the best open source hardware devs
- + Alibaba: the Amazon of China you can get almost anything here
- + Tip: Elon Musk explains reasoning on first principles.
- + Atomic Delights: product design blog on manufacturing.
- + Spark: Prototype 2 Production
- + Savioke: Robotics company blog
- + Add a dirt cheap screen to the Raspberry Pi B+
- + Comparing Low-Power Wireless Technologies
- + Nike+ FuelBand SE BLE Protocol Reversed
- + Hardware and Firmware Issues in Using Ultra-Low Power MCUs
- + Design, Prototyping, and Manufacturing of Physical Products
- + Project: Building a sous-vide immersion cooker
- + Dissecting the Philips Hue Tap wireless
- + Rapid Prototyping with Aza Raskin
- + I want to prototype hardware. Where do I start?